DIY Bejeweled Photo Collage Letters

For my big diamond, Katherine, and little diamond, Amber, I had searched for hours on Pinterest to find the perfect Christmas present for them. I wanted to craft them something personal to show all the memories we had shared together. I had finally found the perfect gift for them, bejeweled photo collage letters!

photo (61)

Christmas is right around the corner, but you still have time to make these! You can complete a letter in a matter of a day.

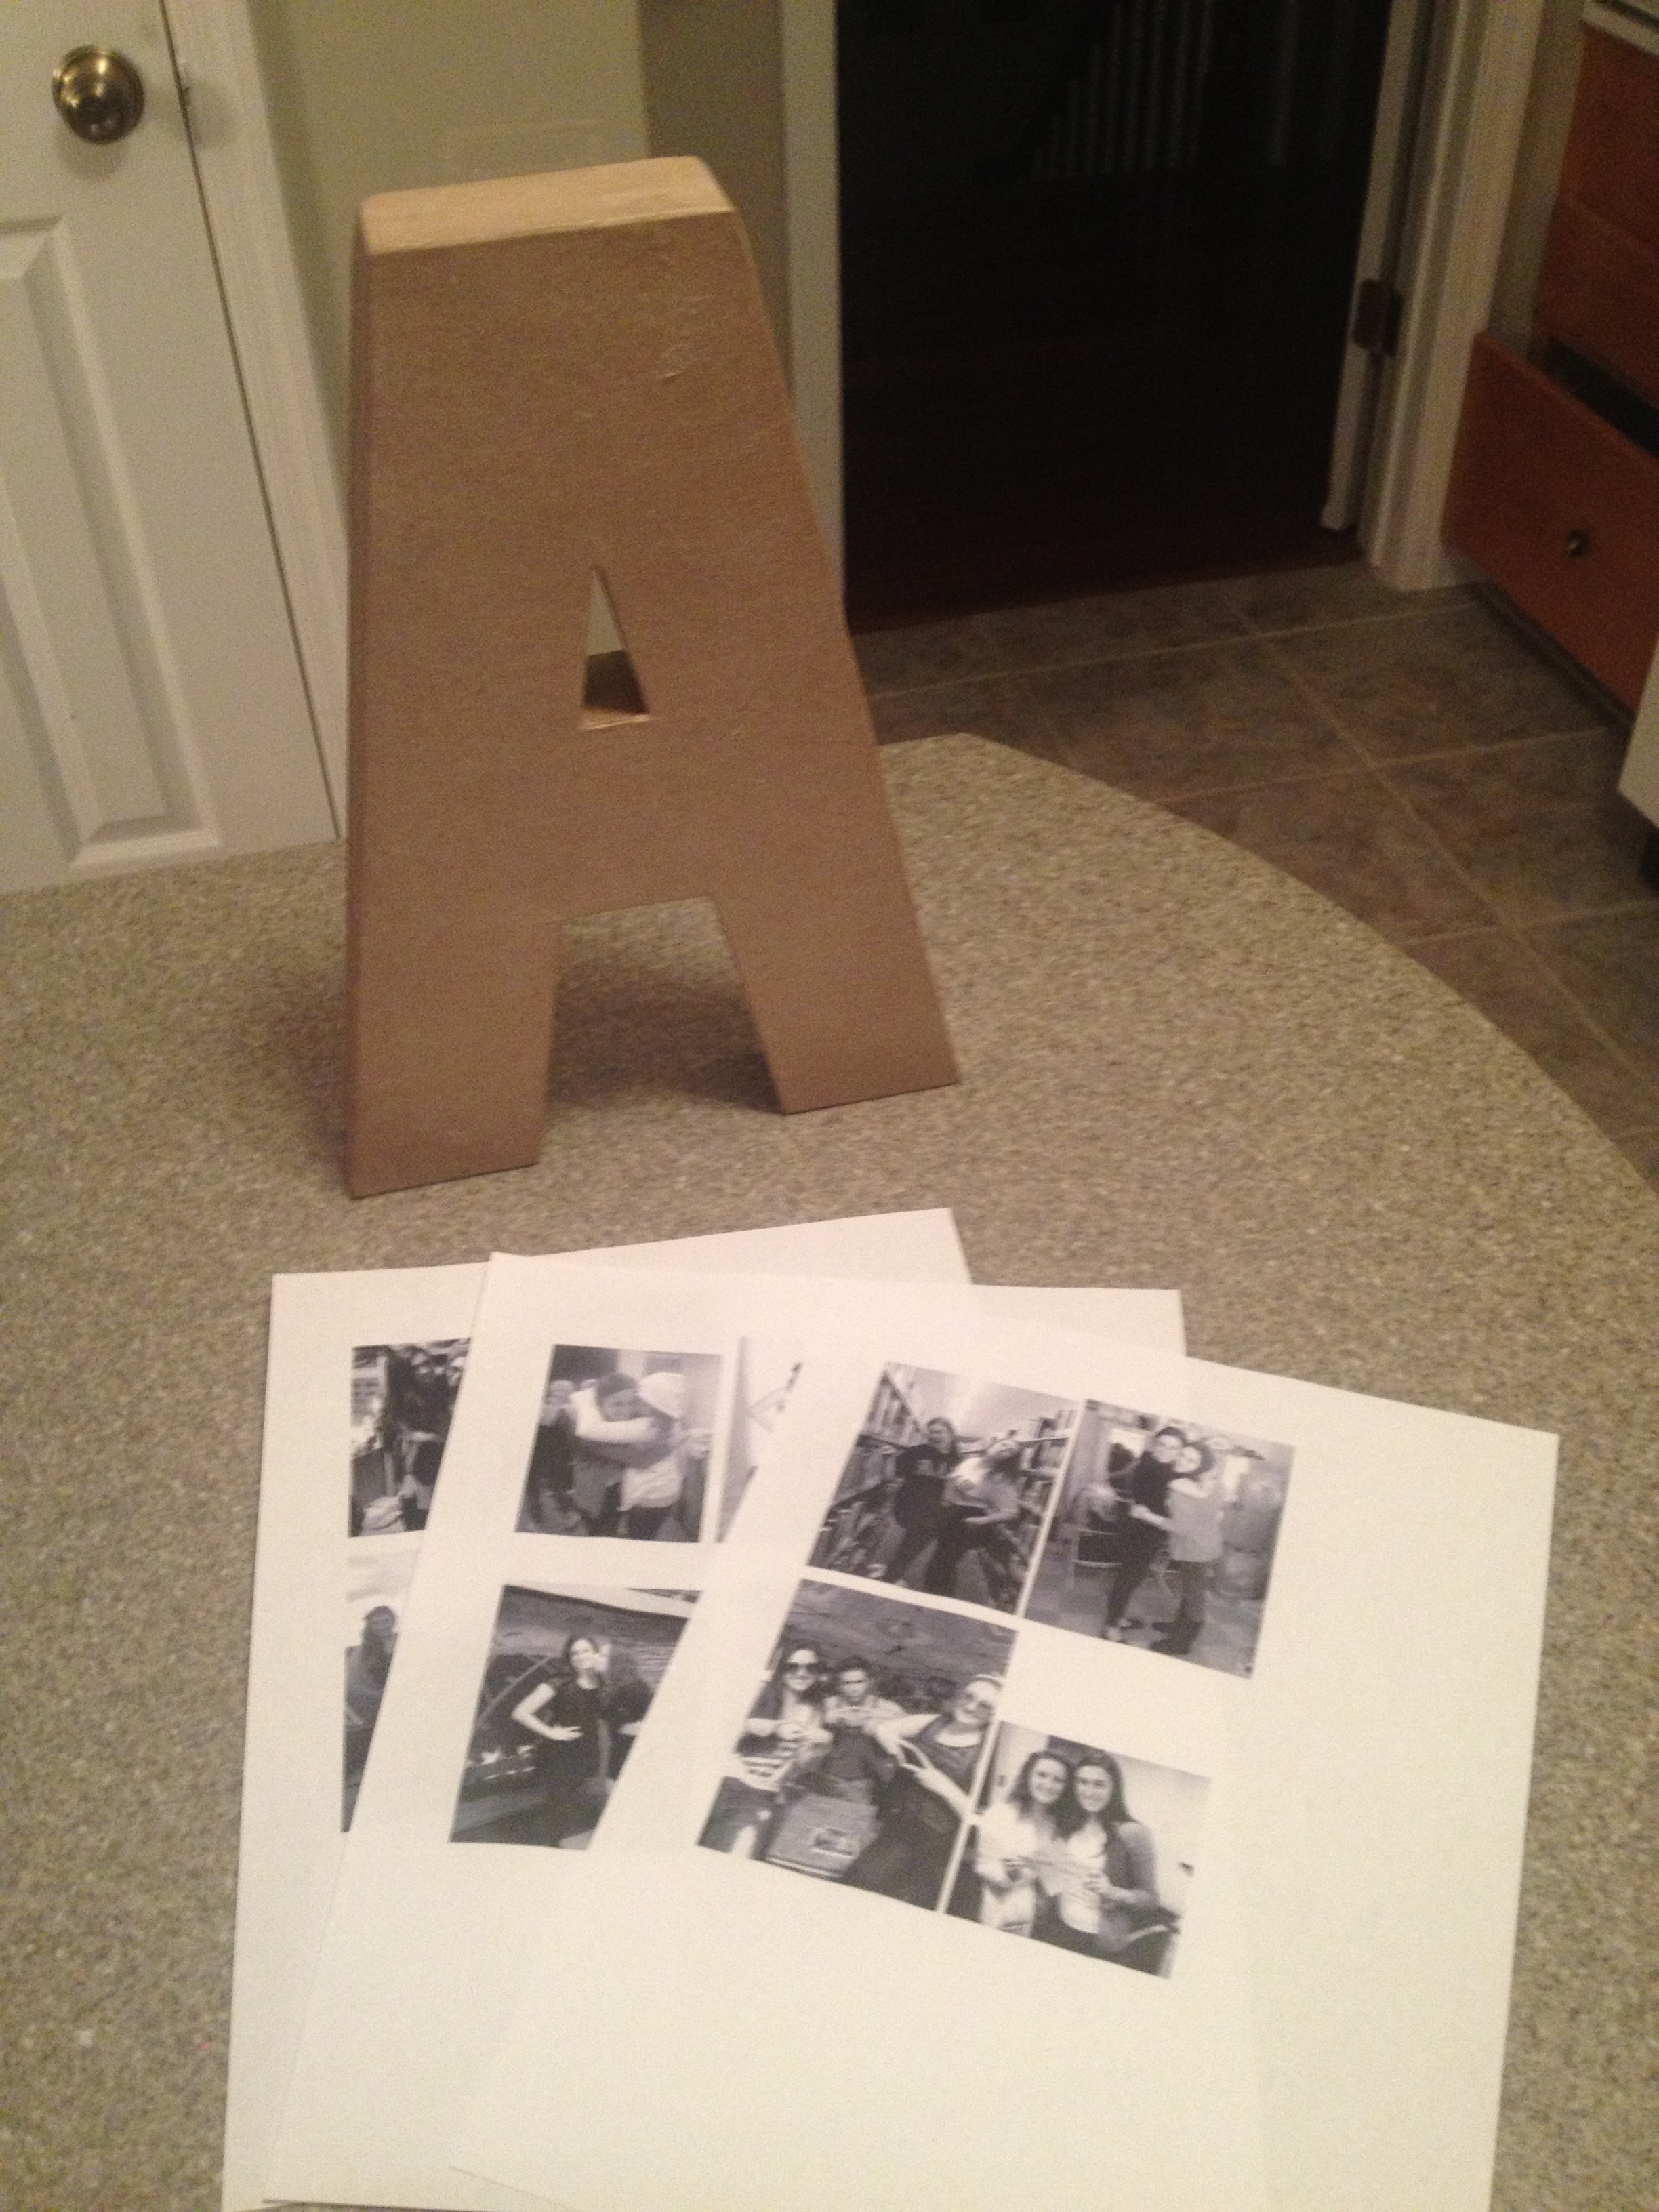
First, you need to prepare to do the craft. I went to my local Jo-Ann craft store and got a cardboard letter. I then printed out pictures, right from my computer, of my favorite black and white photos of me and the gift’s recipient.

photo (50)

I didn’t want the letter to just be plain cardboard, so I used white acrylic paint to paint it.

photo (51)

The paint was super quick to dry. Make sure to paint every side!

photo (53)

I’ll be honest with you, readers, I am a perfectionist. So instead of just gluing the photos down with mod podge, I laid out the photos on the letter. I pieced everything together like a little puzzle to see how it would all fit.

photo (52)

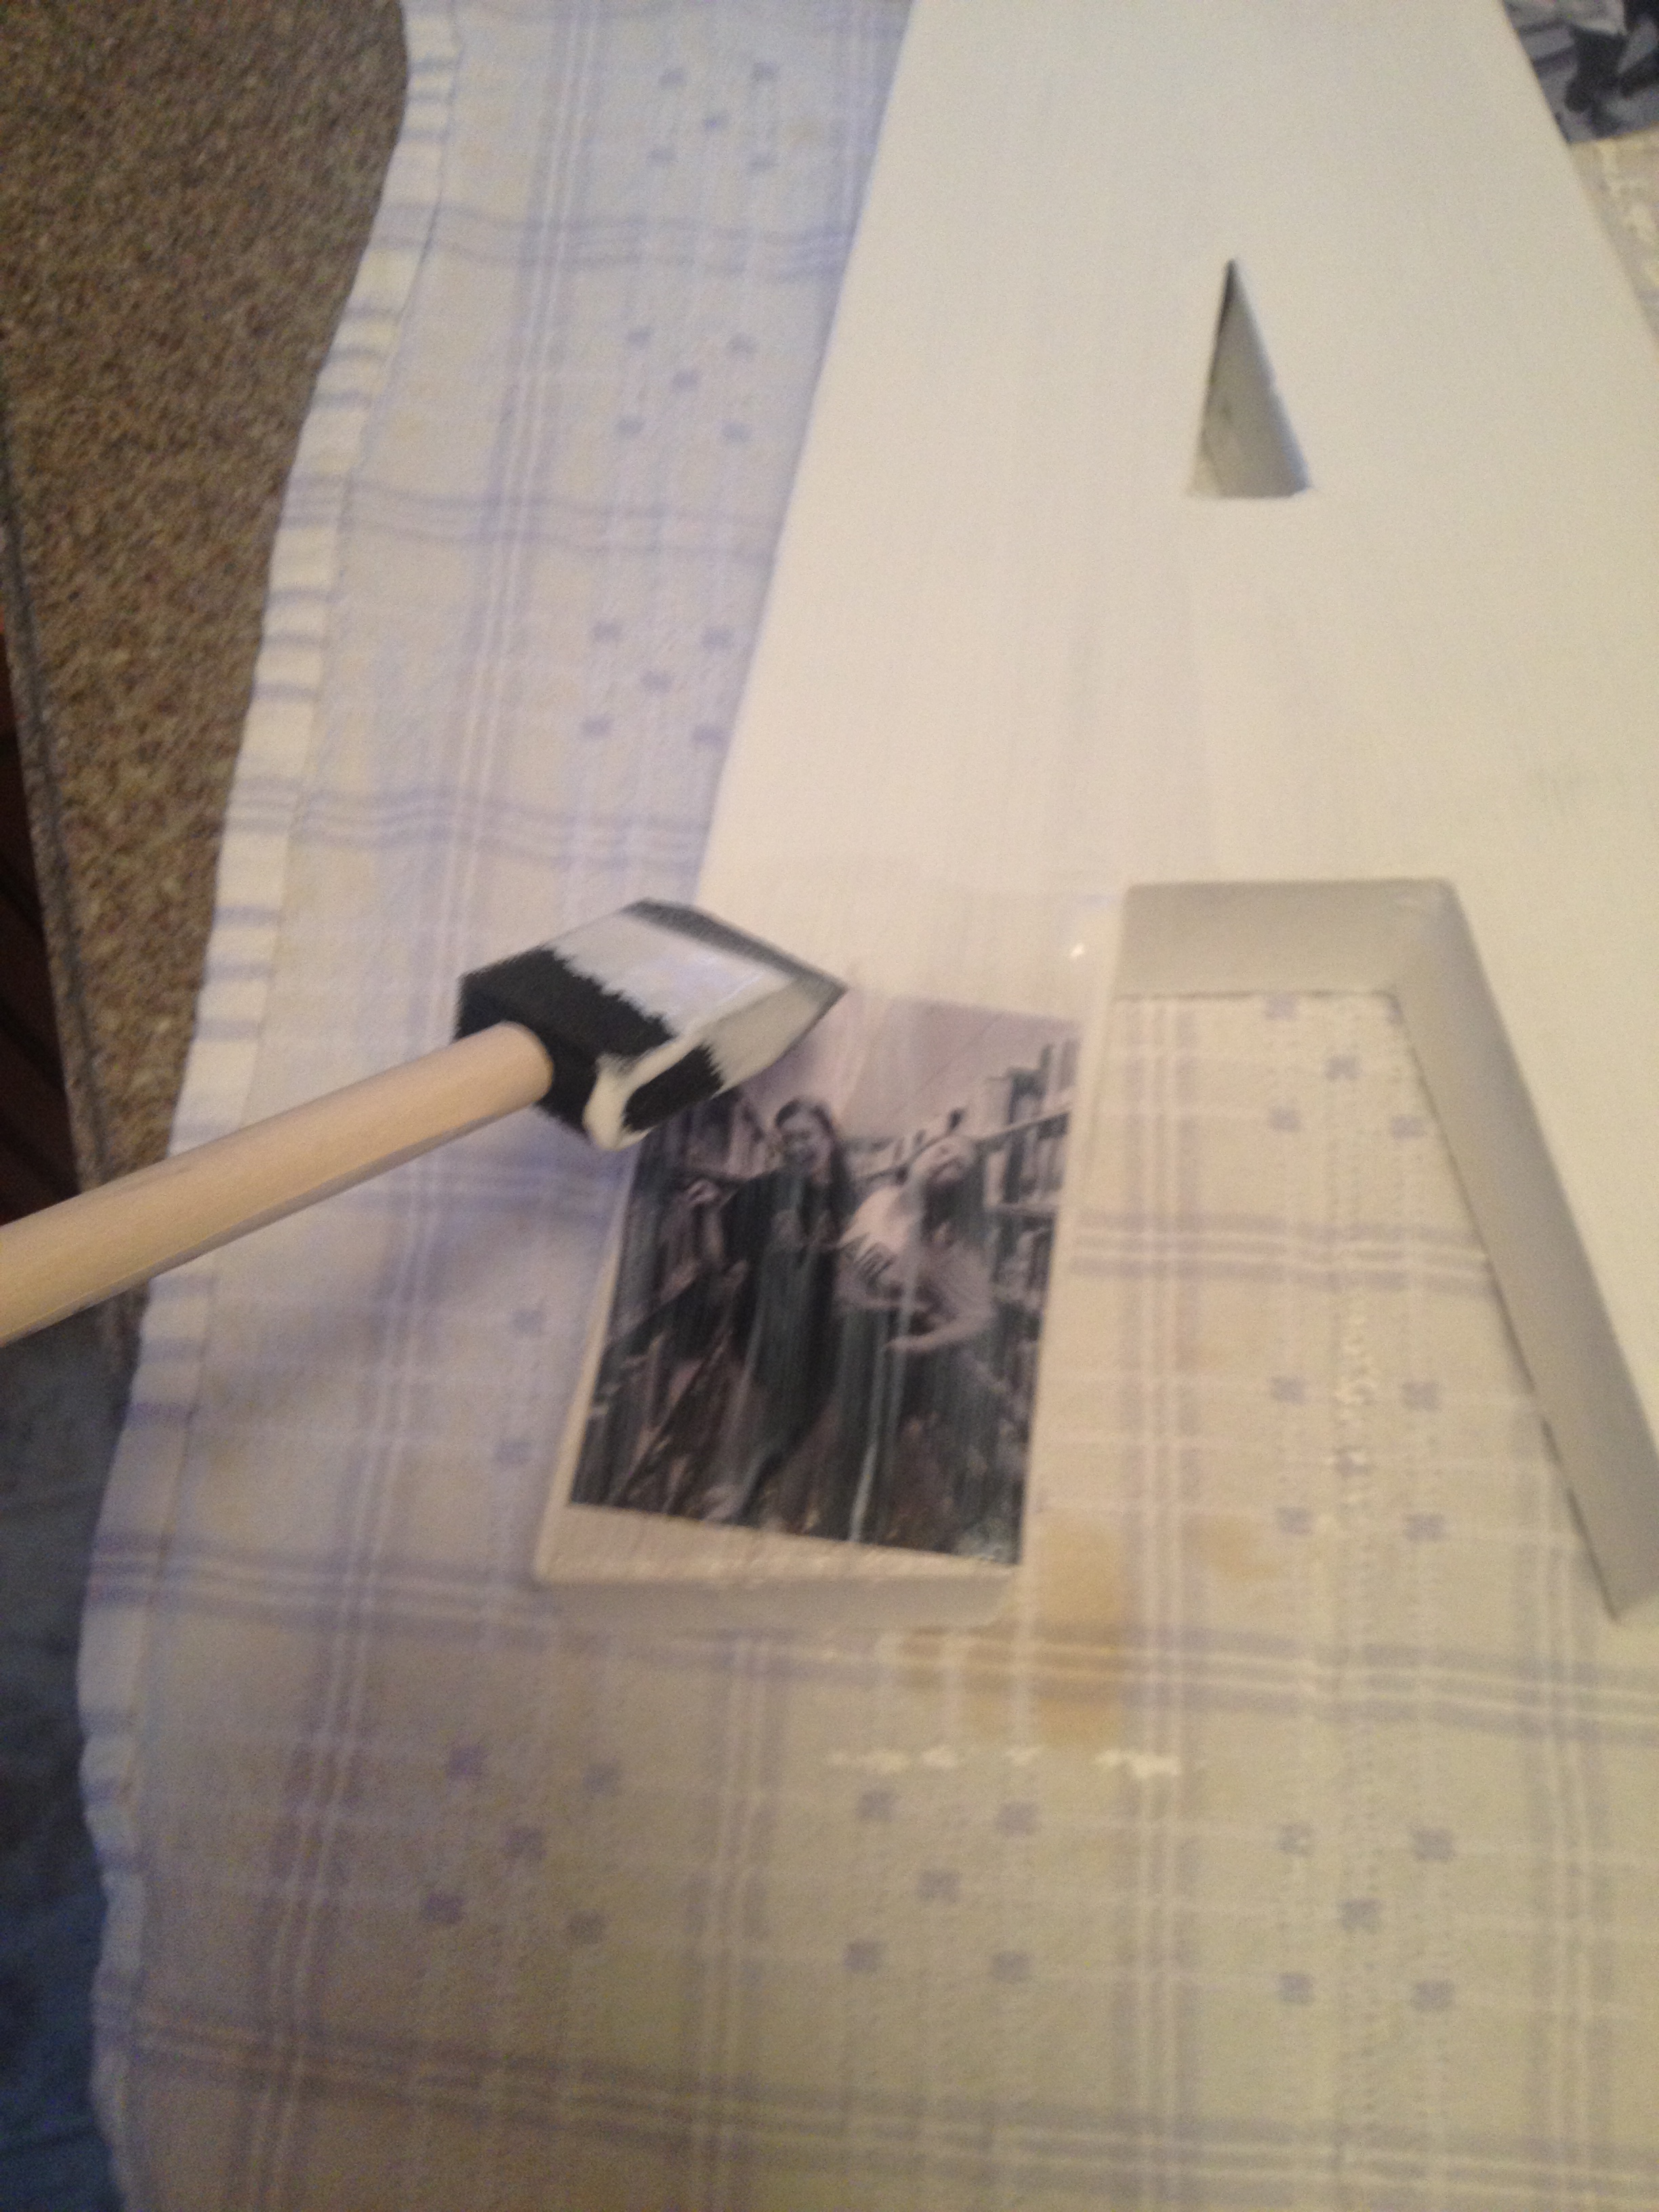
Once everything was how I wanted it to be, I took a picture to remember. I then took the photos off the letter and began to glue it down! To do so, you need a sponge brush and mod podge. Both can be purchased at a local craft store. I bought mine at Michael’s.

photo (54)

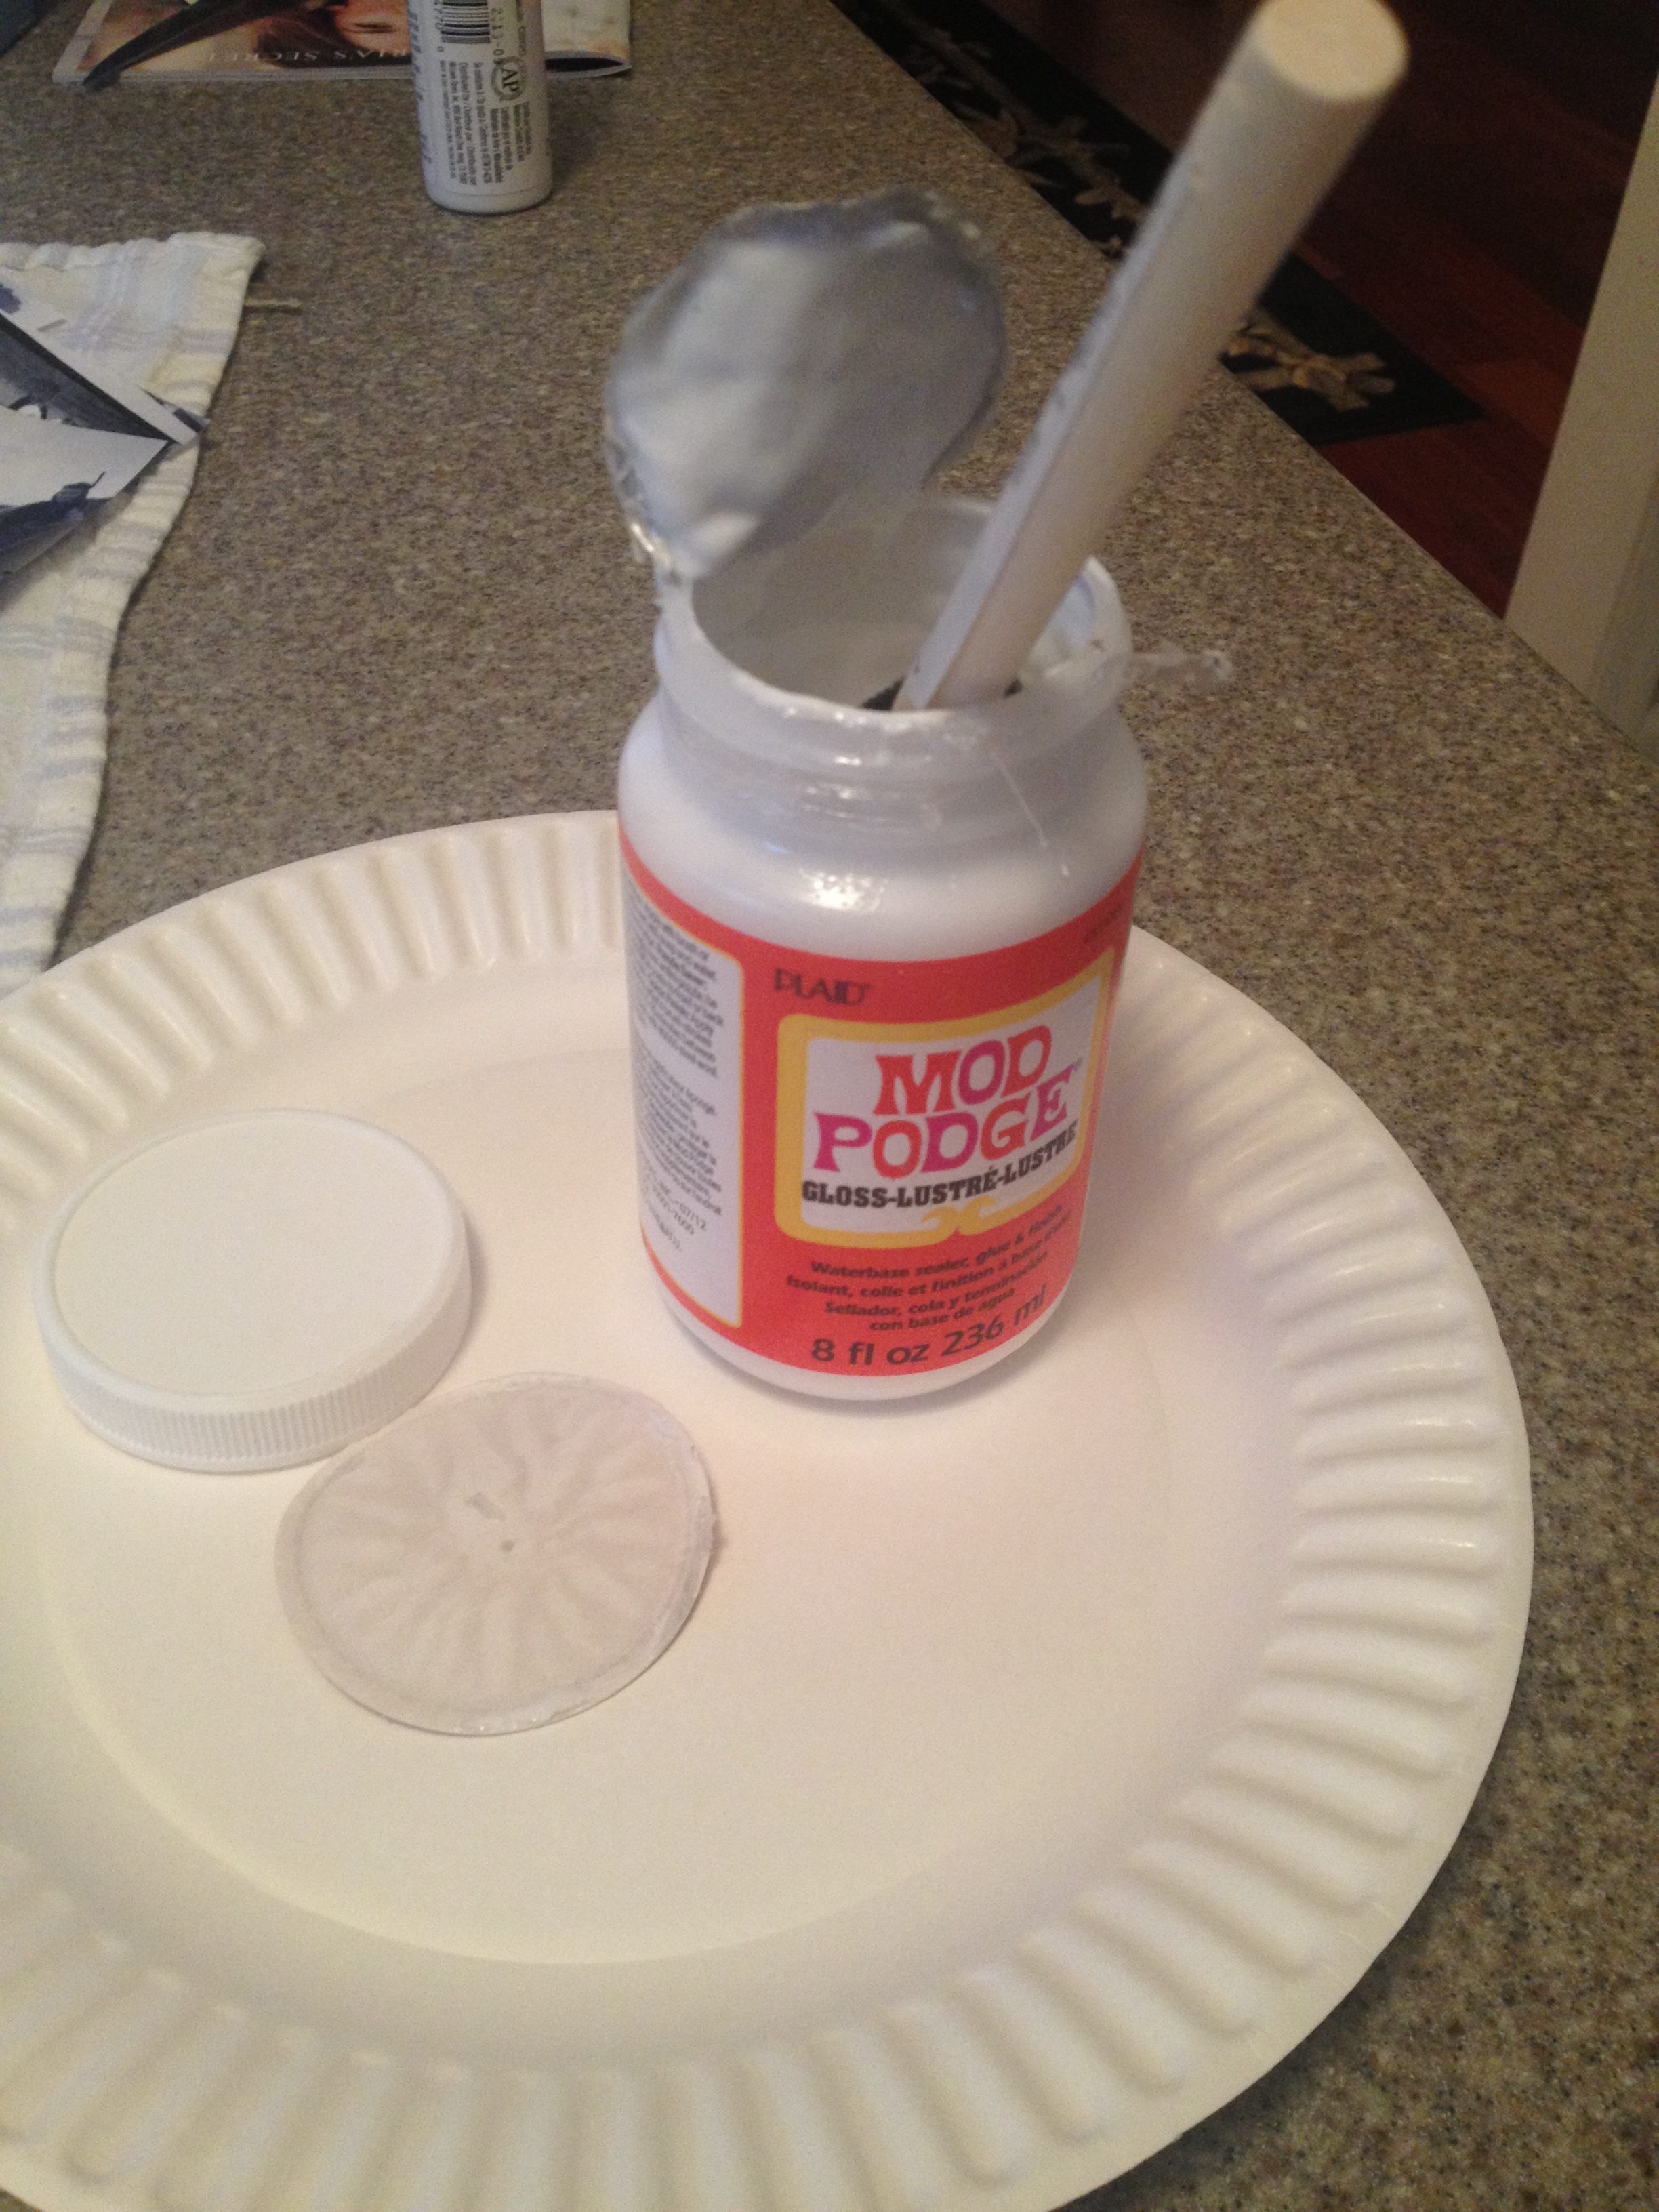
To glue the photos down, I would first use the sponge brush to put glue down on the letter. I would then stick the photo onto it, trying to avoid allowing air bubbles pop up. Once the photo is on, I put the mod podge over it. The mod podge was put on top of the photo for a glossy feel.

photo (55)

Continue on by gluing down each photo with mod podge and put the mod podge on top of the photo, as well.

photo (56)

Once you have every photo glued down, run one last layer of mod podge over the entire thing. Make sure it is all even.

photo (57)

If you can see the white glue on the photo, it’s okay. That’s what makes the photo appear to have a glossy finish once it dries.

photo (58)

Before doing anything else, you need to let the mod podge dry!

photo (62)

You can always leave the letter just like this, but I decided to bejewel the letter with adhesive jewel stickers.

photo (59)

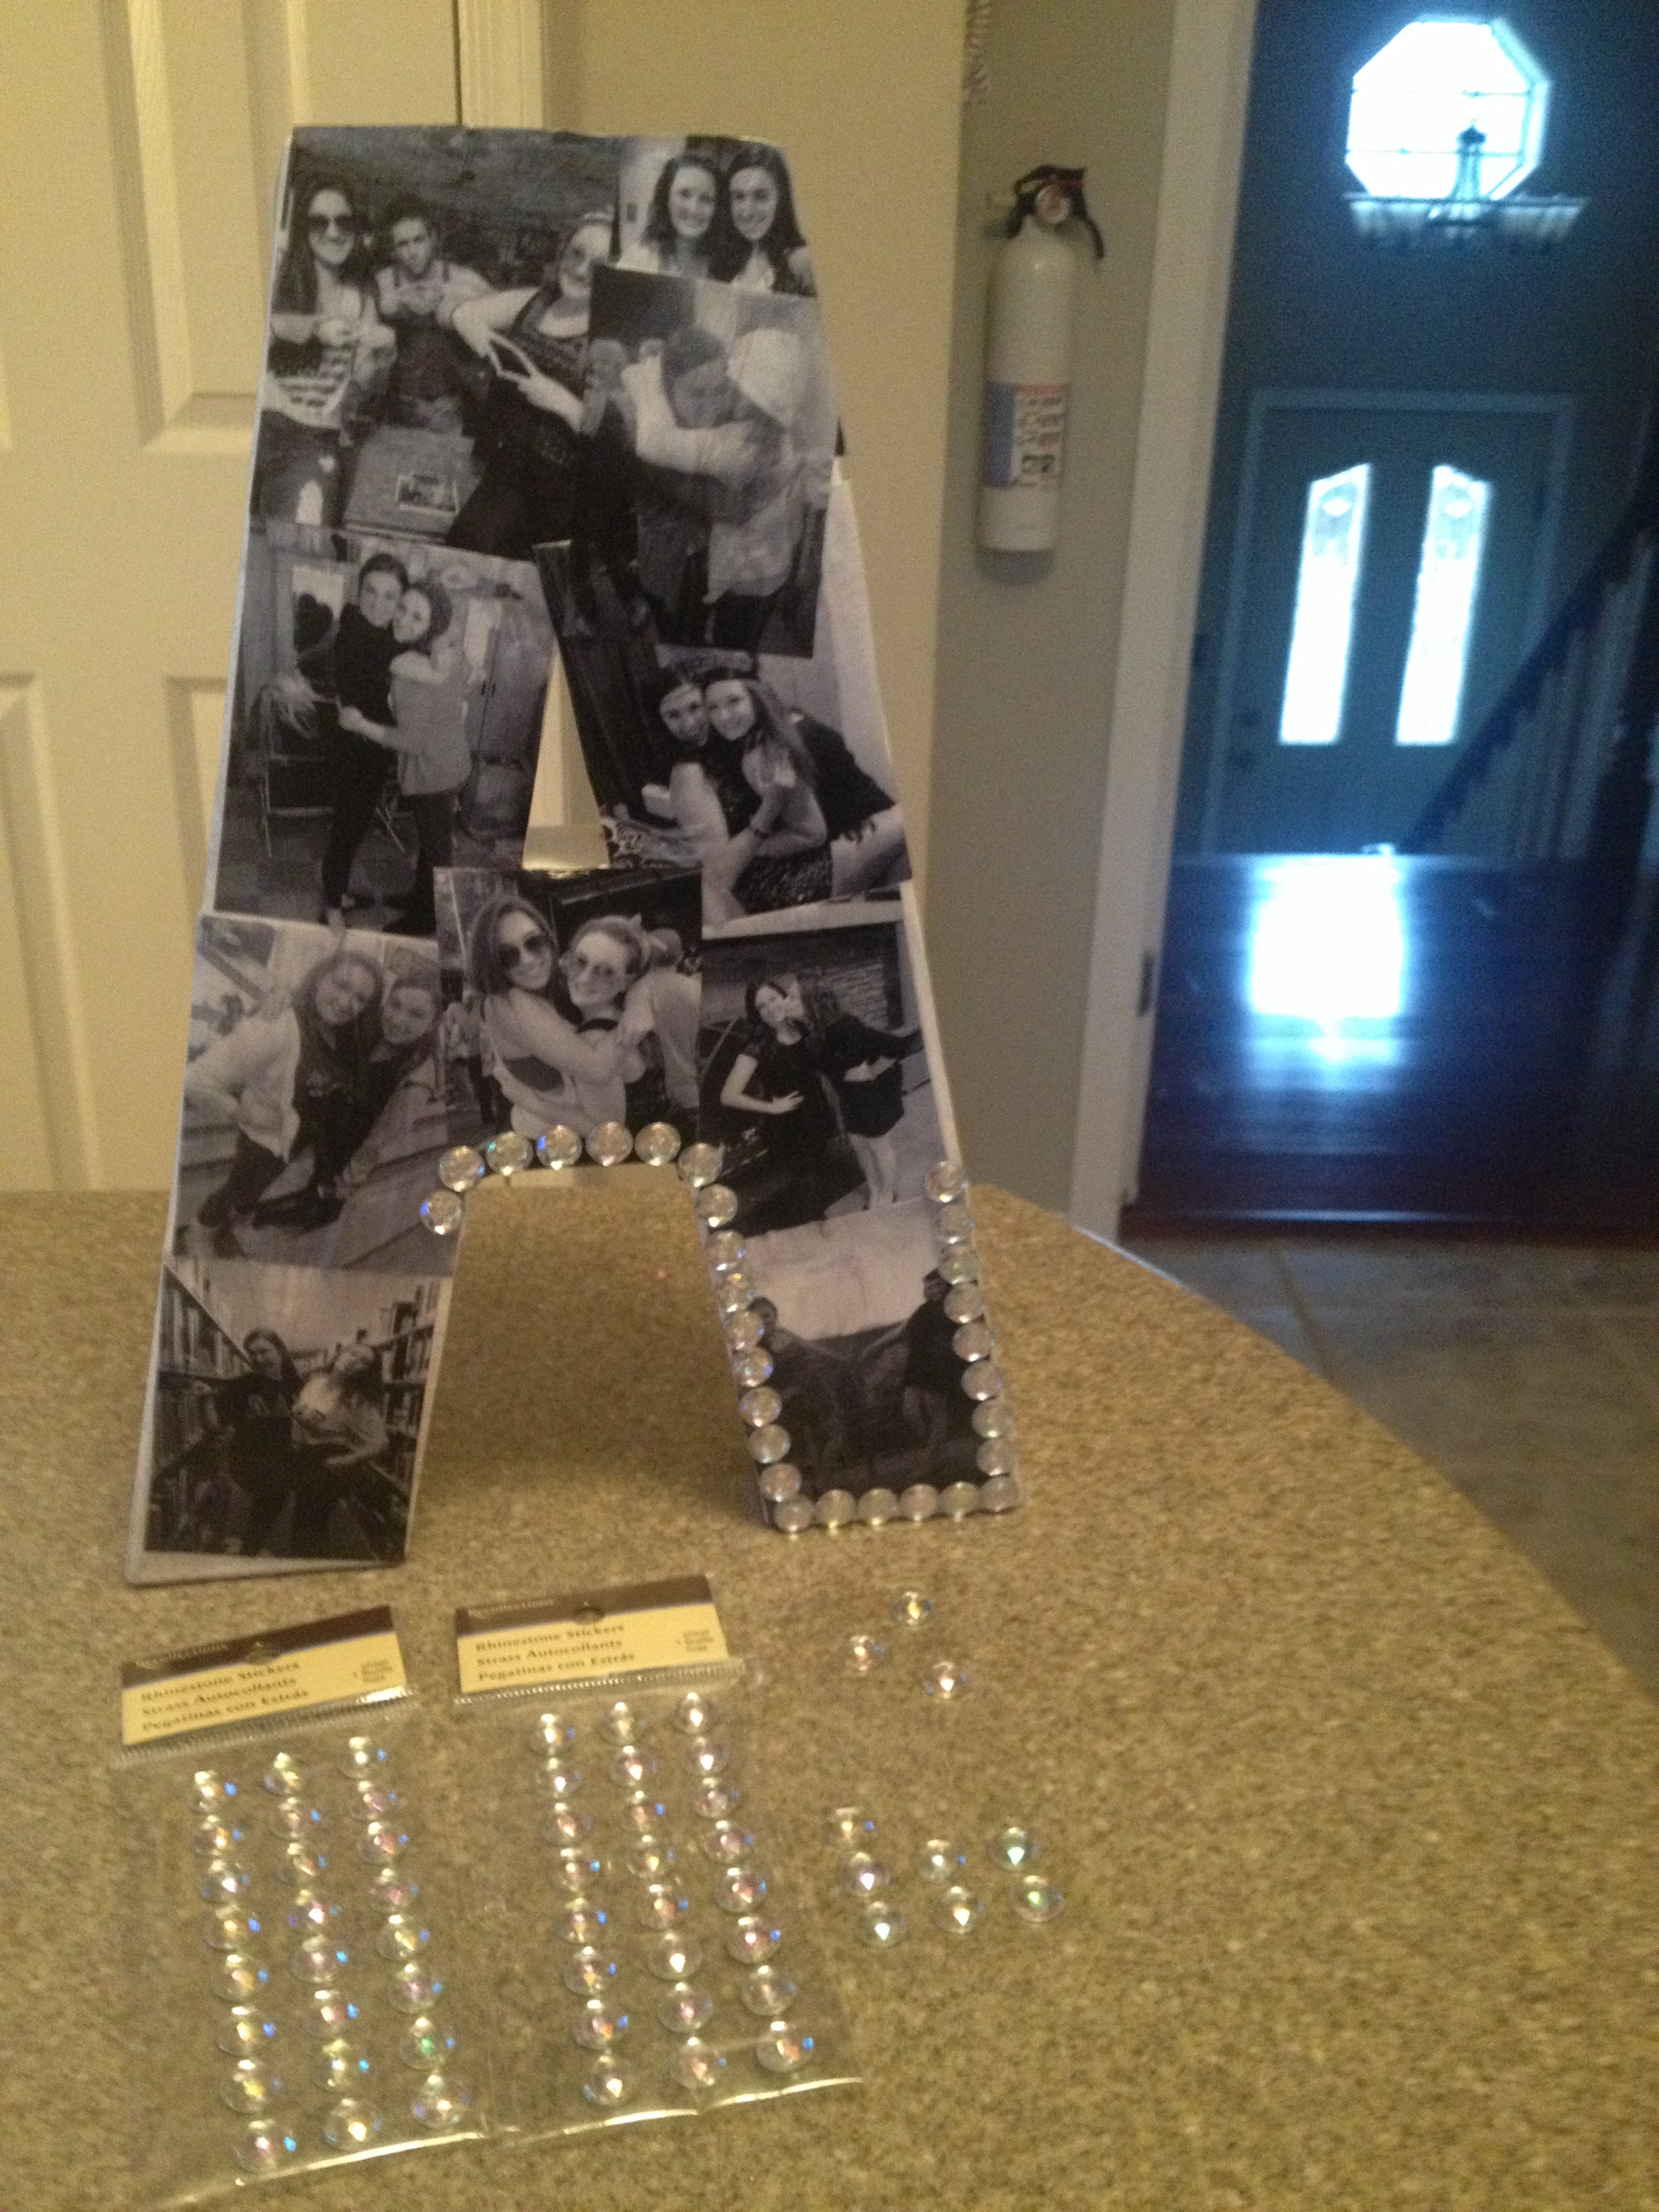
Once you finish adding the jewels onto the letter, it’s all done!

photo (60)Amber and Katherine loved them. I am so happy with how they came out!

If you decide to make these bejeweled photo collage letters, drop me a message in the comments below and me know!

And remember to check out the site The Collegiate Standard for sorority and fraternity jewelry! PLUS use coupon code SAMI10 to receive 10% off! A post on their products will be coming soon!!

DIY Sharpie Mug

To make my best friends birthday gift, I let my sorority girl/Pinterest addicted self shine through by crafting a DIY sharpie mug with our favorite “Sex and the City” friendship quote – “Maybe our best friends are our soul mates, and boys are just to have fun with.”

photo (37)

The quick craft came out absolutely beautiful & better than I could have ever expected. More importantly, my coffee chugging bestie, Julia, loved it!! With the holiday season now here, a DIY Sharpie mug is a great gift to make and give to any coffee or tea lover in your life.

The make the mug, the steps are:

1. First, you need to get the supplies you need! They’re all very cheap and easy to get – Sharpie markers and a mug! Most mugs can even be found at the dollar store if you are trying to keep yourself on a budget.

photo (40)

2. Decide what you want to write on it. As I said, Julia and I always tell each other that we are soul mates because of the SaTC quote, so it was perfect! You can write any quote you want, draw a design, or even write a note if you would like! You have complete creative freedom!

3. Once you know what you want to do, start designing! Take your time, remember you can’t undo it once you start, so do not rush.

photo (39)

4. Once it is finished, place it in the oven for 30 minutes at 350 degrees. This allows the Sharpie to not come off after washing it and multiple uses. Once it bakes, let it cool.

photo (38)

And that’s it! Now you can give the gift!

photo (41)

If you decide to make the DIY mug, or have done it before, I would love to hear about it! Let me know below, in the comment section!

Dorm Room Decor DIY: Photo Collages

As I get ready to move back into school on Tuesday, my inner decorating diva is coming out. Since I am now going to be living in a double instead of a quad at Quinnipiac, I have much more room to decorate. My love for photos, life long preservatives of memories, was very obvious to anyone who stepped into my room last year due to my large cork board and surrounding open space being covered with photos. Since I have more space to decorate this year, I decided that I wanted to do something a little bit different than just a cork board of photos to decorate (besides hang up my abundance of One Direction posters and Alpha Delta Pi crafts, of course).

I went to Walmart and for less than ten dollars I was able to get a large 16 inches by 20 inches photo frame to put the photos in. I then went to CVS, who was having a sale for fifteen cent photos with your CVS Card, to print out photos. Once I had the frame and the photos, I was able to start putting it all together!

photo (11)

The reason I got this frame was because it said that it was easy to undo the glass and it really was! After taking off the plastic, I was very easily able to snap the glass out of the frame. It took enough muscle to know that it wouldn’t just easily fall out, but not enough muscle that I was going to need a screwdriver or any other tool. In fact, there were no screws on the frame at all!

photo (13)

With the glass popped out, I turned over the cardboard to reveal the black side. Then, I took all my photos and started stategically laying them out on the board. It wasn’t an easy task to fit the pictures in- I had to see what could lay where, which meant some photos would overlap, and sometimes find pictures that were zoomed out farther to sit in between photos where there was not a lot of room. It wasn’t a long process, but the perfectionist in me wanted to make sure that it was absolutely perfect.

photo (12)

No glue was even required because I just snapped the glass back in, just as easily as it snapped out. Another perk of not using glue is that I can reuses this frame as time goes on for my dorm room decor. As time passes, I will want to swap in new photos. To do so, all I will have to do is snap the glass out, remove the photo, then snap the glass in. Super easy!

Overall, this quick and easy DIY took me about 15 minutes and will preserve my memories a lot better than just pinning them up!

I love the way the frame came out and I can’t wait to hang it in my room on Tuesday!