
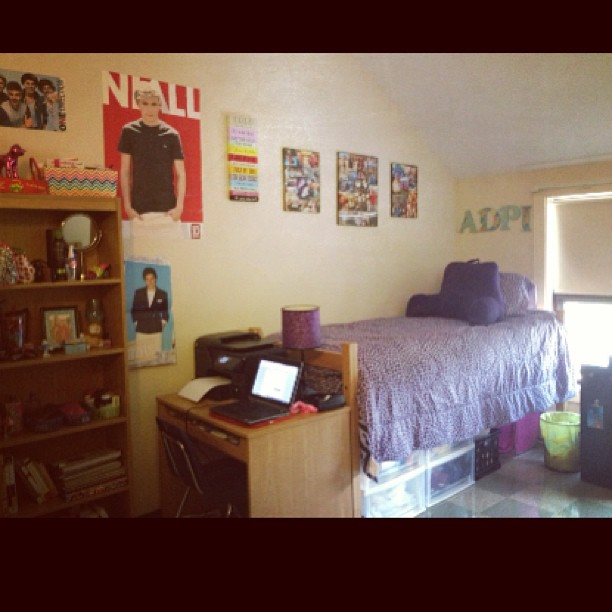
So I’m back at school! I moved into my dorm room yesterday for my sophomore year. I am so in love with the way that my room came out – everything fell perfectly into place. Here’s a photo of my room! (Check out how awesome the DIY photo collages I posted about previously look!)
One of the biggest struggles of dorm room living is making the most of your space. You aren’t always blessed with a lot (last year I literally had a corner in a quad with a lofted bed!), so you need to make the most of what you got! Because in the words of my favorite six year old, you get what you get and you don’t get upset.
So without getting upset, you have to try and cram so much into the space. As much as every parent would love, it is just so hard to downsize because I really do need all of this extra stuff in my room. Here are a few tips on making the best of it:
1. Check out the space in advance. Sometimes this may not always be an option, but there are ways around it. For this year, my suitemates and I visited the room we are living in this year last year. When we did come, we took pictures (make sure to ask the current residents if that’s okay!). Then, in August, when we wanted to see more than just what we had photos of – we relied on Facebook! My direct roommate and I went through photo albums of other people we know who lived in a similar building to see how they set up their room until we both fell in love with a setup. It made it so much easier come move in day because we already had a plan in mind. If we never checked out the space in advance, or checked Facebook, we could have wasted hours trying to figure out just how we wanted to place our beds!
2. Use the space under the bed. For underneath my bed this year, I have four bins of storage, my hamper, my rain boots, two cases of water, my shoes in a plastic shoe organizer, and a black milk crate of cleaning supplies. Wow- that’s a lot! Everything under there is necessity – so I knew I had to make room for it all. That’s why having space under the bed becomes so helpful – it’s literally just giant open space waiting for you to load it full with your stuff! To give myself even more room, I bought 4 inch bed risers:

With the comforter, you can’t even tell all of what is under there – which is great for privacy!
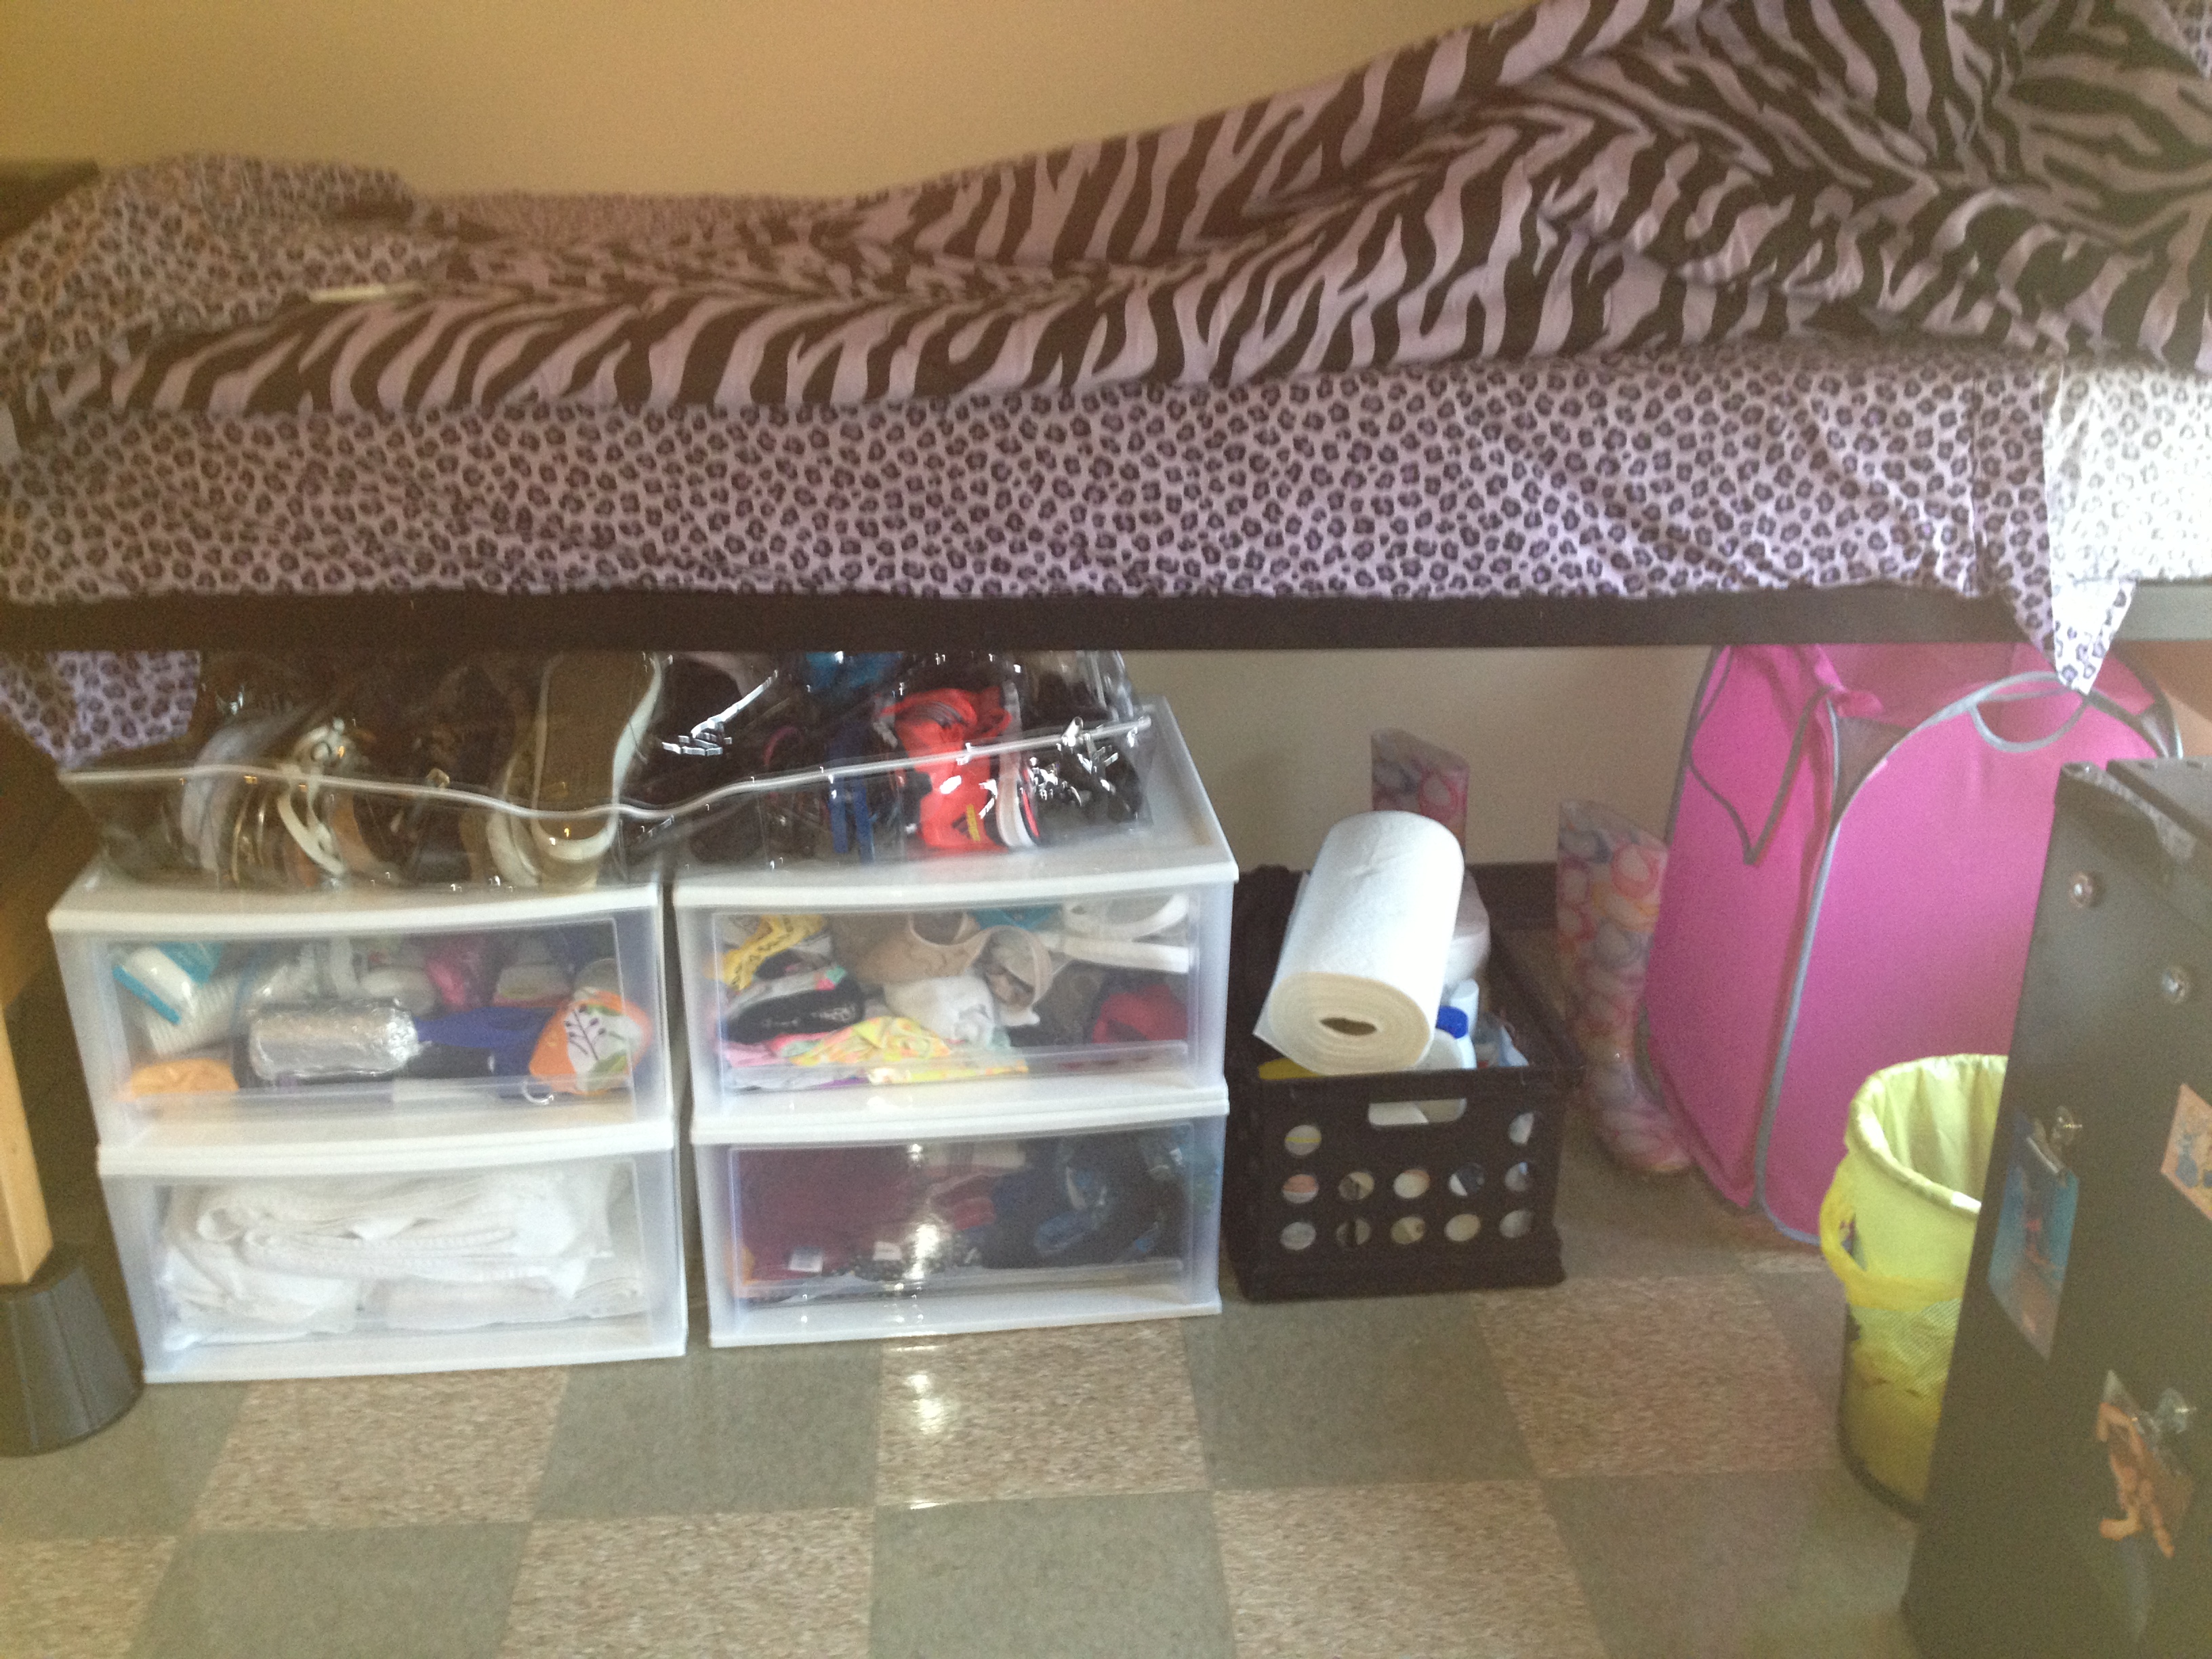
And then when I move back the comforter – you can see all of what I have underneath! It’s so much!!
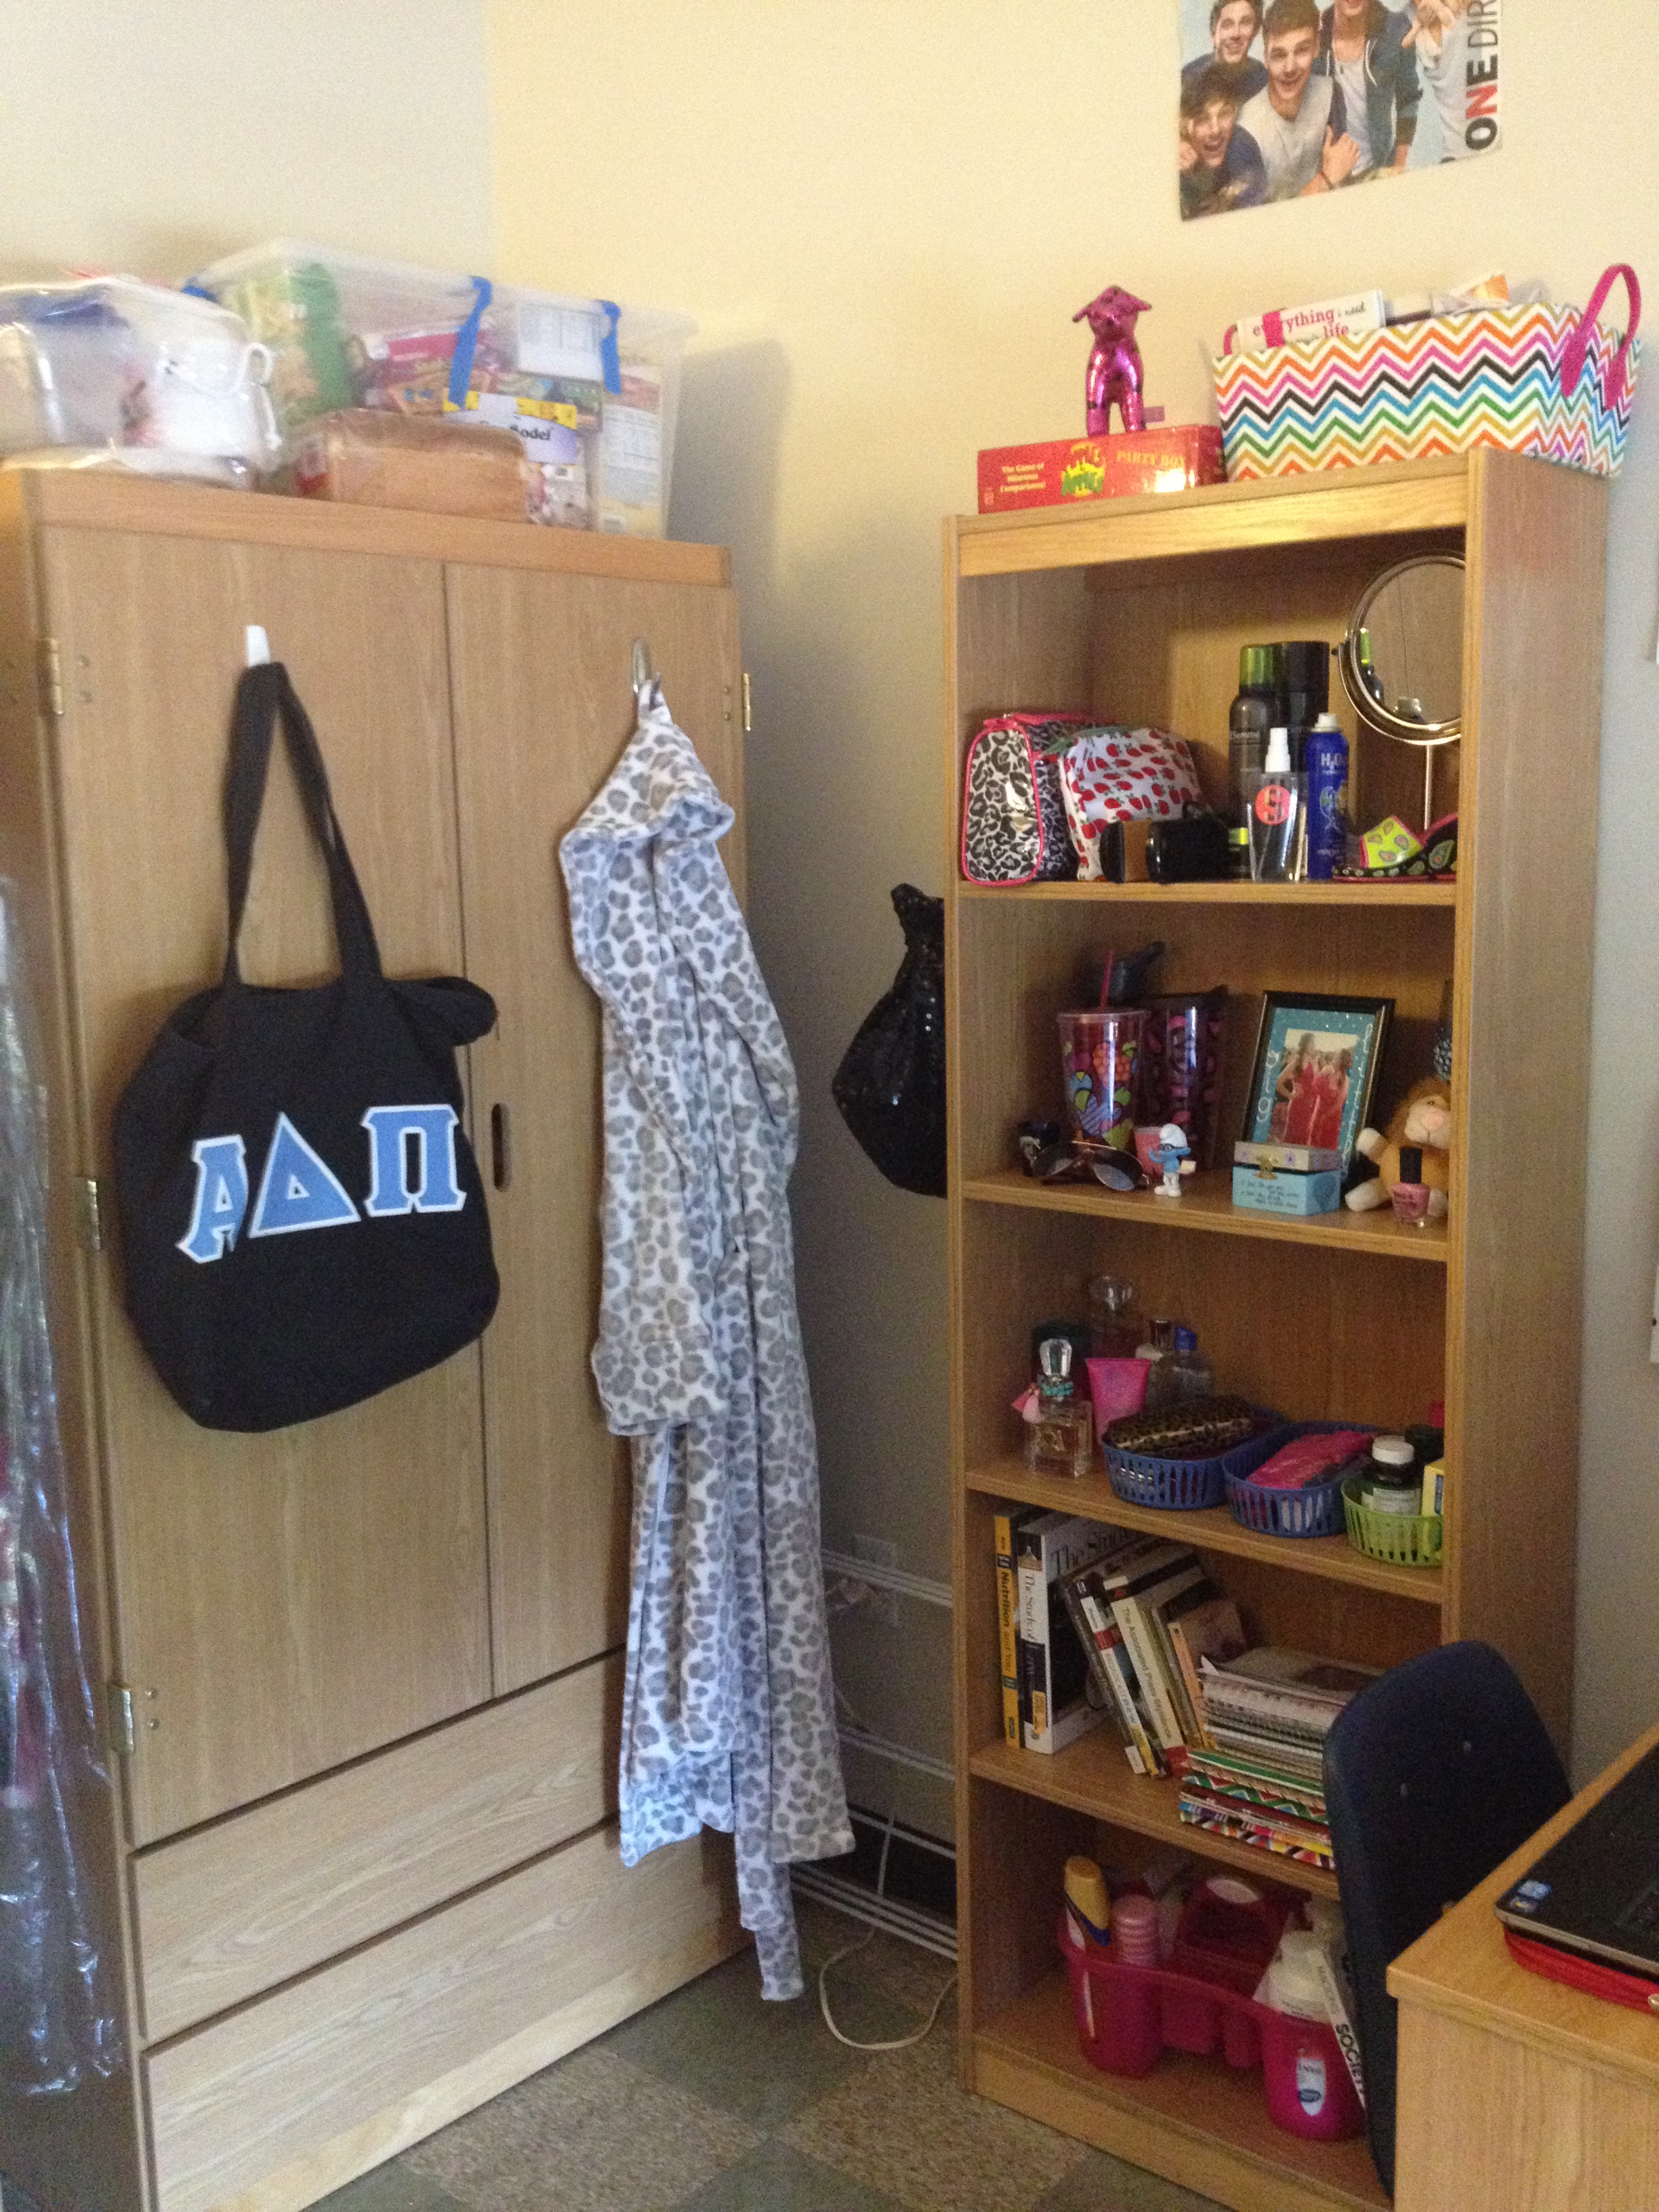
3. Make command hooks your best friend. I know it sounds silly, but they come in so handy! I’m pretty tall (about 5’8) so a lot of my chapter dresses for sorority are longer than the space allotted in the dresser for width. One of my biggest pet peeves in life is being wrinkled- and if one of my chapter dresses got wrinkled I would have honestly have a total meltdown. So what I did was put command hooks on each sides of the closet, higher up than the hook inside the closet. I then hung about six dresses (in their dry cleaners bags) on each side. This is seriously saved so much room in my closet and keeps my dresses wrinkle free! I then stuck a bag on the side of my shelving unit and one on the front of my closet to hang my extra bags – my purse and my ADPi tote (my backpacks are behind my door on a bigger shelving hook – if you aren’t lucky enough to get one of these, then definitely hang your backpack(s) up on command hooks! You don’t want to let those get thrown around on the floor!). Another huge recommendation I would make is to use a command hook to hang up your robe on the front of your dresser (or your wet towels if you don’t have a drying rack). A robe is a HUGE necessity in college, so having somewhere to always put it that it allows it to dry, while not taking up space in your closet is a huge must! They’re also really important for hanging up some of your decorations.
I hope these tips and tricks make moving in and setting up a lot easier! Good luck to all of you readers this semester!


